• Customer projects completed

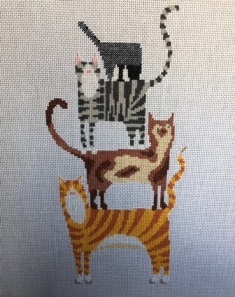
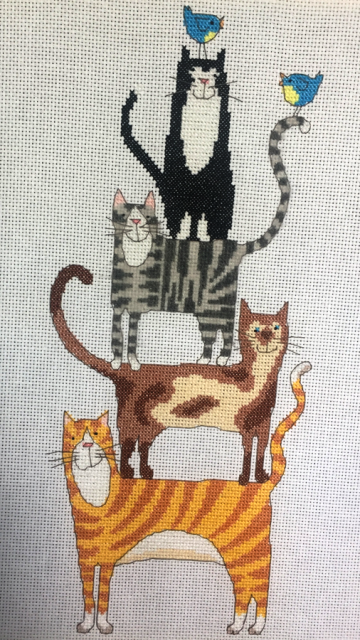
    Cat Stack Cross Stitch kit.

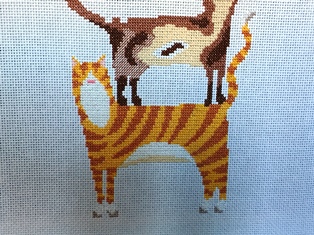
    Cat Stack cross stitch kit by Bothy Threads.

    For Cat Lovers Everywhere: Cat Stack cross stitch kit from Bothy Threads.

    Where to buy Cat Stack cross stitch kit by Bothy Threads.

    Kit contents:

    • 14 count white Zweigart Aida
    •  pre-sorted stranded cotton
    •  ‘Lana’ (a woolly thread)
    • a needle
    •  stitching diagrams
    • completion instructions.
    • Finished size 18 by 34cm. This kit uses full cross stitches, backstitch and a few French knots.
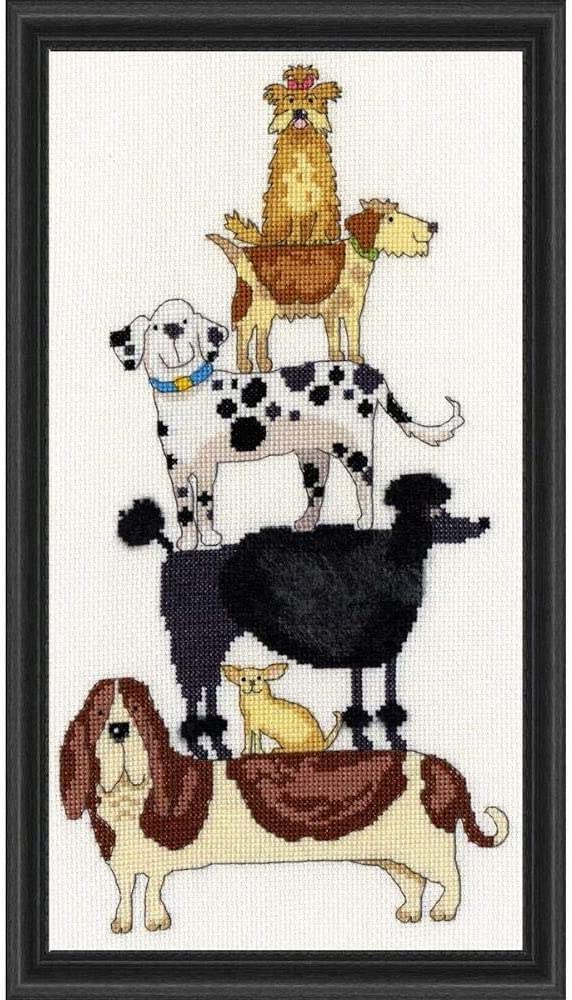
    Also available, Dog Stack Cross stitch kit.

    Cat Stack’s one of a series of cross stitch kits developed from original artwork by Kate Mawdsley Kate Mawdsley.com

    The kits fairly straight forward in terms of the cross stitching and backstitch and would be ideal for beginners. All the crosses are full stitches. The backstitch can be completed in long runs, as it is a modern pattern. This makes this the backstitch quicker to complete than some other backstitching designs.

    French knots.

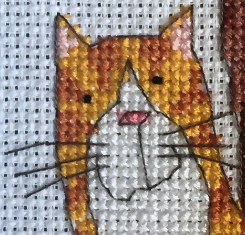
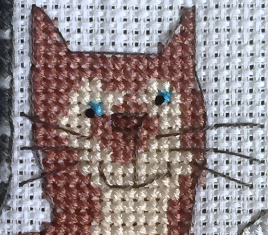
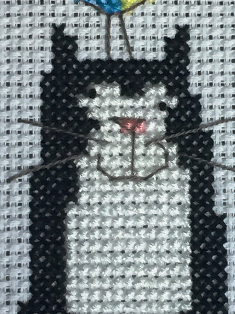
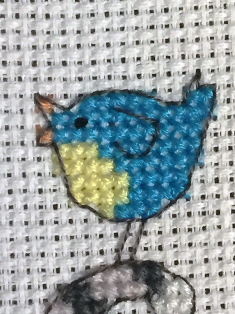
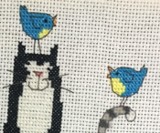
    The only advance stitch you may need is a French knot to complete the cat’s eyes. Once the French knot is mastered, depending on your skill level, the overall effect is wonderful. It really gives each cat (and the birds) different personalities.

    However, When positioning the French knots, be careful not to position them incorrectly. Doing so just makes the cat’s look ‘odd’. With that said, don’t be afraid to undo it and have another go. Try offsetting them from the holes if necessary to achieve the look you require. For a quick tutorial on ‘How to tie French Knots’ See HERE!

    Lana thread used in Cat Stack cross stitch kit
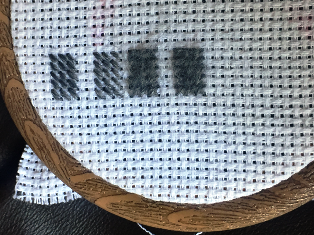
    How to fluff up Lana thread when Cross stitching. Kit example is Cat Stack cross stitch kit by Bothy Threads
    Fluffing up Lana threads for Cat Stack cross stitch kit.
    Image showing fluffed up Lana thread.

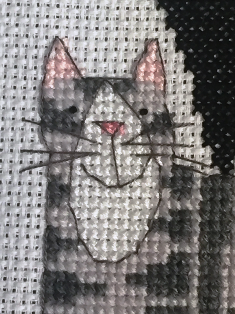
    This kit contained a first for me – Lana thread. I have never worked with Lana threads before which made it interesting to use. Also, I found them to be thicker than stranded cotton that’s normally used in most cross stitch kits and has the appearance of pure wool. On completion of the stripy grey cat, the Lana thread’s ‘fluffed up’. To achieve this rub a piece of velcro across it carefully. So as not to damage the yarn but to give it a fluffy appearance. You do need to be cautious about not catching the stranded cotton face and paws with the velcro. I would recommend practising fluffing up the Lana on a spare piece of cloth or Aida as shown in the image.

    Cat Stack cross stitch kit Pattern and Instructions.

    The stitching instructions are very clear and set out the order in which things should be done, both for stitching the design. They also explain how Bothy Threads stitched the design along with some useful top tips.

    The pattern chart is clearly printed on two lots of two A3 sheets of paper.  With one set of two for the cross stitching chart, and the second set for the backstitching and the placement of the French knots. Charts can be marked off as you stitch although I found it unnecessary as the design is in blocks of colour requiring only a few needle changes. Overall Cat Stack was a joy to stitch with different techniques, the use of Lana, French knots and delightful colours.

    Unfortunately, this particular project required the purchasing of more of the stranded cotton owing to the need to unpick my client’s work as sadly it had been started in the wrong place. Also, it was a little tangled so the threads were unsalvageable. This meant that, even though excess threads had been given in the original kit, there was not enough extra of one of the colours.
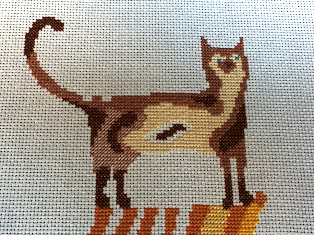
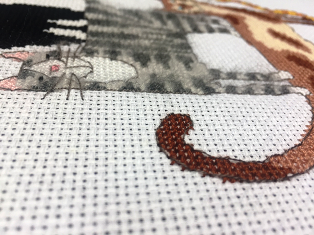
    Image Showing incomplete stitching. Where to get a Cat Stack cross stitch kit.

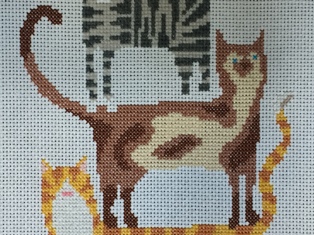
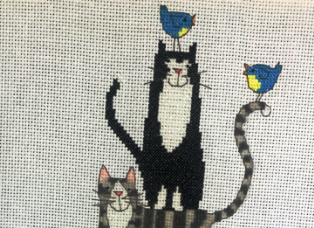
    The brown striped cat  (cat 1) with some stitching unfinished while I waited for the cotton to arrive.

    The Threads used in this kit are Mouliné Madeira threads.
  • Customer projects completed

    Baby sampler redesign and restart.

     Baby sampler redesign.

    This baby sampler redesign and restart certainly was a baptism of fire as it was my first commission.

    My first cross stitch finishing request is from a lady in the USA.
    Clients project description.
    The project is 31 x 26 1/2 cm and eight colours.
    I will provide all materials needed.
    No other details were provided.
    She is waiting for a hip replacement, could not find the time to finish the project so was looking for someone to finish her cross stitch for her.
    It’s a baby sampler that I think was started over ten years ago for her grandson but was never completed.
    It arrived by priority mail and without knowing any more than what the client had described I opened the package.
    On opening the parcel I noticed straight away that I will have my work cut out with this one.
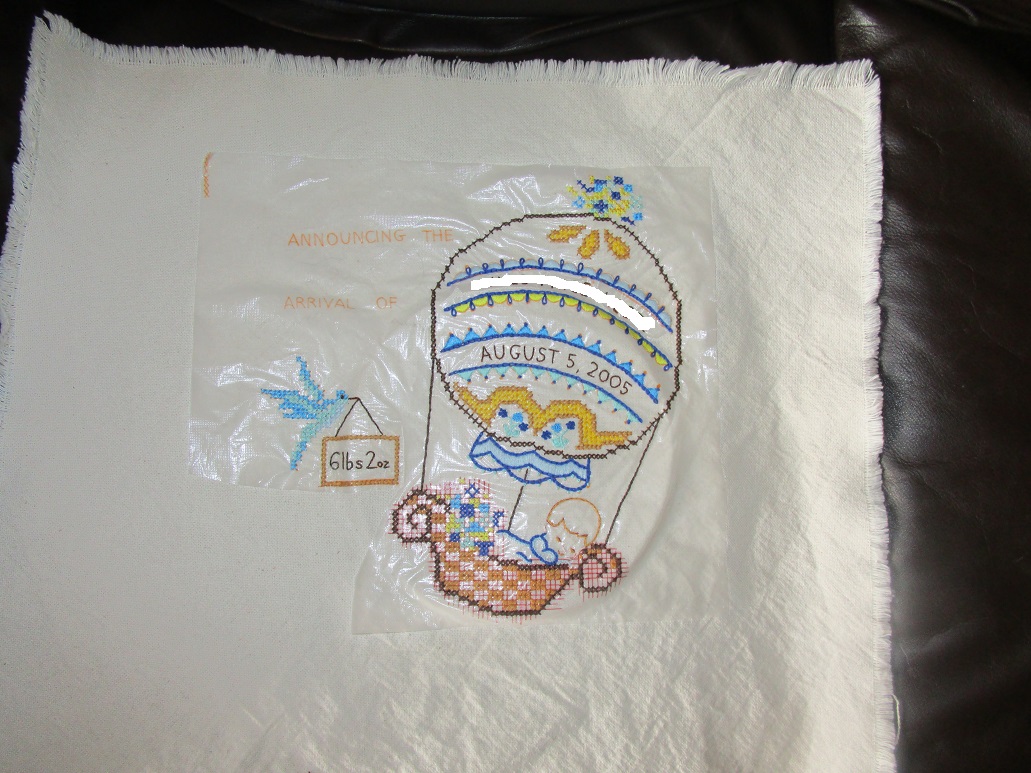
    As you can see in the image, the project is already started.
    It came with a picture of the finished design which was intended for a girl whose name and date of birth I have blurred out for privacy. This can be seen in the next set of images.

    Baby sampler redesign and restart

    The baby sampler redesign request is for a boy, who’s details were enclosed on a piece of paper.
    It had a rough hand drawn stitching pattern. A few random coloured yarns that were far too dirty to use. They were also covered in dust and what looked like animal hairs tangled in the weave of the threads.

    As you can see the pattern was also a little worse for ware and unfortunately did not quite match the design of the original which I had to copy, shown in the picture below.

    So begins my baby sampler redesign.

    After consulting with the client via email that I would need to use all new threads, I was told to do whatever I thought necessary to finish the project.
    I first decided to make a new pattern that was to scale with the original picture dimensions that were supplied. To follow the original pattern, and to make it match the design supplied was a task I did not fancy.
    After careful study and measuring of the original pattern, using the project dimensions the client had supplied I set about my baby sampler redesign. I calculated that the stitch count was 10 so I began to redesign the pattern on a 10ct grid as shown below. The colour coding shown is for reference and not necessarily the final colours I chose to use.

    Recolouring the yarns.

    Before starting I would also need to change the colours of the yarns slightly. Being that the new design was for a baby boy, not a baby girl. So the first thing I did was carefully choose new yarns to swap out all pinks for various shades of blue.
    Then, by lining my pattern up with the supplied picture I was able to create a more accurate new design that closely matched both the supplied picture and was also close to the original hand-drawn design, as I also found a lot of stitches had been missed out on the original girl’s sampler.
    Also, I would need to do a little more scaling and defining on the bunting and loop detail.
    I chose to do this on a separate transparent piece of paper. It will then be overlayed onto my design in place of what is shown in the above pattern as I was not happy with the overall proportions and look of the original balloon. To me, it seemed a little cluttered.

    Washing the Linen fabric.

    The next thing to do was to thoroughly wash the supplied fabric in lukewarm water as it was badly stained, covered with animal hairs and far too dirty to work on.  The fabric was washed at 40 degrees with a mild detergent although I also thought about just replacing it. After some consideration though, I decided the client would want the same fabric that the girl’s sampler was stitched onto.
    With the fabric now clean after 2 washes and ironed flat I was ready to copy my design onto a soluble stabiliser before laying it onto the cloth ready to receive the stitch work.

    This seemed like a simple design at first but I soon realised that was not the case. There was a lot of embroidery in the balloon along with satin-stitch, some hoops, chain-stitch and French knots all to add some detail to the design.
    I also used an embroidery hoop to keep the fabric at the right tension without permanently creasing its edges. I think in future I will use a larger rectangular frame to hold the whole larger designs in place.
    Slowly and carefully I worked my way through the design. This incorporated some stem stitch into the ropes on the balloon, the wire on the plaque held by the bird and onto the stems of the flowers at the base of the balloon, with some more satin stitch and French knots to form the detail on the ends of the butting design and in the birdseye. I also used a smaller hoop to do the bird detail and plaque.

    The next thing to do was to move my hoop and start on the banners containing the writing.

    Almost complete.

    I am now on the home stretch having completed all the satin stitch in the banners and with only a little more stem stitch left to finish them off. Finally, there’s some random straight stitch in two colours to build the highlights in the babies hair.
    It’s now complete, awaiting the client’s approval and ready to be packed then mailed back to the USA.
    This was an interesting little project. A little testy at first but once It started taking shape it was worth the effort to get it right.
    Below you can see the original design.

    My interpretation of the Baby sampler redesign.

    Thank you for reading my post.