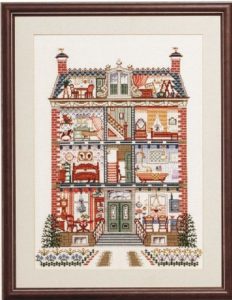
Cross stitch Pako dolls house.
This cross stitch Pako dolls house is my most challenging project to date.


This was, by far, my most intricate project to date (excluding Tinkerbell which was my own personal gift to my daughter and can be seen here as an earlier project).
This cross stitch Pako dolls house came as a homemade kit. It contained a photocopied set of patterns and DMC yarns. All colour codes had been customised to suit the threads available with some needing improvisation to complement the design. This required me having to purchase a few extra coloured skeins at cost.
The photocopied patterns were of a poor quality and appeared to have been stored for quite some time. Therefore before starting a lot of research was required to ensure that everything was correctly placed and all the correct colours and back stitching were in the right places.
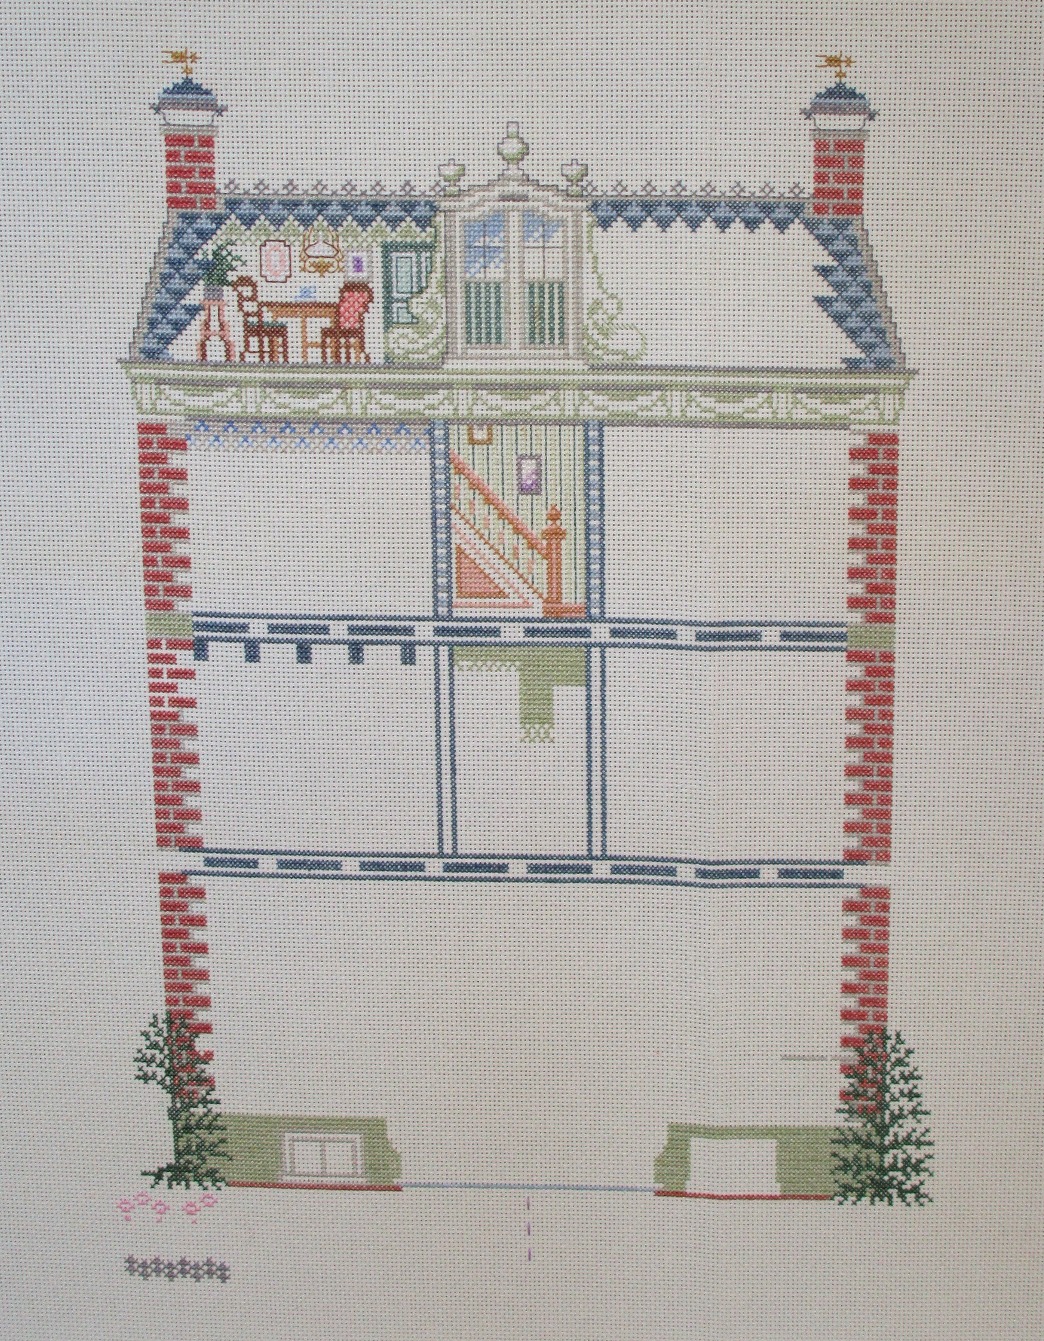
Some of the cross stitches had been started using a single thread of yarn which I have shown below.

The first thing I needed to do was to check the cross stitch for alignment with the pattern. Once I was sure that everything was correctly placed I could start the dolls house. Firstly completing the outline of the building and creating each separate room within the design. I started with the top left attic room and then carefully worked my way across and down the building, first doing all the cross stitch and then the back stitch so as to make sure each room was complete before I moved onto the next to ensure minimal contact with the stitching already completed. You can see my progress in the images below.


Dolls house the second floor.
With the top floor attic rooms now completed I moved on to the second-floor nursery and bedroom. With the staircase being already started it just left the dark brown cross stitch and back stitch details to add.

Following on from the nursery and bedroom I then did the first-floor master bedroom, landing and bathroom.
Dolls house first floor.

Dolls house ground floor.
My next task was to tackle the ground floor study/parlour room, kitchen and front door.
I first tackled the stonework detailing and handrails followed by the kitchen, front doors, study/parlour and then the steps. Lastly, I added the garden details.

Due to the intricate nature of the cross stitch pako dolls house project and because I had to cross reference the pattern I had with the information I’d found on the internet, I made sure I completed every detail in each room before I moved on to the next section. This included all cross stitching, half stitching and back stitch.
I would not recommend this kit for beginners due to the size of the item. With a good quality pattern to follow each room is fairly simple but the eye for detail and level of concentration required is not for the faint-hearted. If you would like to try the kit yourself you may be able to purchase it by clicking on the image below.

