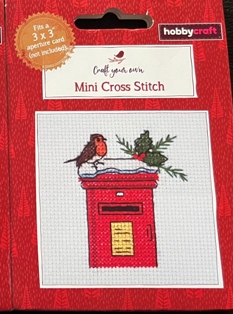
Festive Christmas Robin Mini Cross Stitch kit
In this “How to make a Mini Cross Stitch Kit” I will show you, step by step, how to complete this beautiful festive mini cross stitch kit. All steps are equally important. The kit, as shown, depicts a Christmas Robin and holly on top of a traditional red snow covered post box.
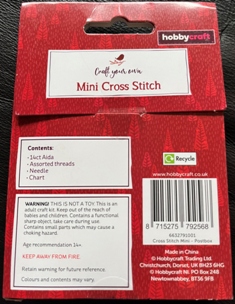
What’s in the Mini Cross Stitch kit.
- 14ct Aida.
- Assorted threads.
- Needle.
- detailed cross stitch pattern.
The completed kit will fit a 3″ x 3″ aperture card. However, that’s not included with the kit.

How to find the starting point.
Of course, there are markers on the pattern to indicate where you should start stitching from. This pattern has arrows marking the centre, from which you work outwards.
Alternatively, to find the middle of your aida fold it carefully in half from top to bottom. Next, fold it in half the other way from side to side. On opening the aida out there will be a cross which is, approximately, the middle. In addition to this, I thread my needle with the appropriate colour, insert my needle at the hole closest to this central point and begin stitching.
Of course, you can start stitching in any place on the pattern but this will mean you need to carefully count from the centre out. Always mark the centre hole with a coloured thread, just so you can double check your counting if needs be!
For more detailed instructions, with diagrams, on how to start a cross stitch project please visit our post on How to Successfully Complete a Cross Stitch Project
Where to go next.
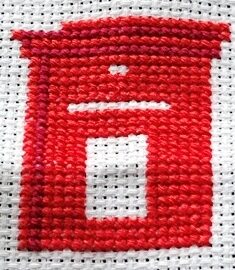
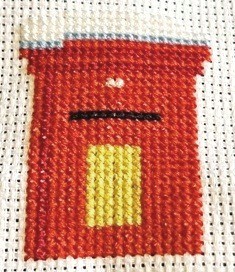
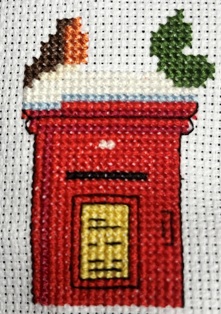
The central point is in the delightful bright red stitching of the main pillar box. There’s no better place to start because this makes the project instantly come alive with colour. The second tone of red, to highlight the shadowing on the edge and top of the post box, also adds detail that makes this project unique.
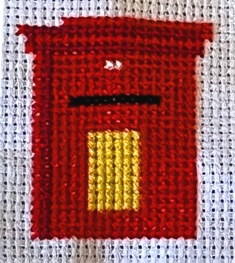
Next, on the front of the post box, fill in the following details:
- the notice plate in yellow
- the letter hole (aperture) in black
- the next collection indicator tablet in white.
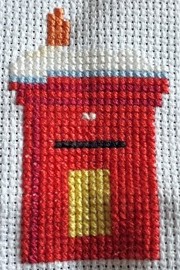
Now that the box is complete, add the snow layer to the roof of the box. The pale blue embroidery thread starts to give the project a very wintery feel.
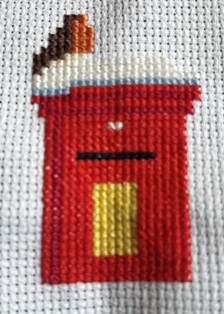
Do not, at this point be tempted to backstitch any detailing. Continue on with the cross stitch by completing the robin’s red breast. Although the threads are not “red” as expected, once the other colours around it are completely stitched, it gives the impression of being red.
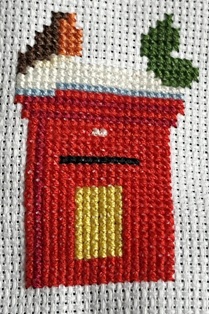
Next, the brown feathers should be completed. Still not looking very robin like but be patient – it will!
Finally, complete the cross stitching by sewing the holly leaves: deep dark green threads, added to the left hand side of the pillar box’s snowy
The Final Stages
With the back stitch complete, you can finally add the finishing back stitch detailing and french notes which will make the project come to life.
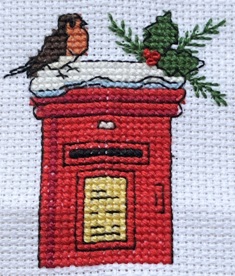
The backstitch lifts the project to the next level but adding the final detail of french knots makes this a masterpiece.
However, always double check the pattern, to ensure you use the correct number of threads for the french knots which from the robin’s eye and the holly berries. Not certain how to obtain a good french knot? Have a look at our free short tutorial
To view a range of affordable mini cross stitch kits please also visit Mini cross stitch kits