In this quick and easy to follow tutorial you will learn ‘How to tie a French Knot.’
French knots are used for many needlework designs to add both embellishments and a three-dimensional texture to them. If you are new to cross stitch tying a French knot can seem a very daunting task. However, with patients and practise they can be tied quite easily. Below you will find step by step easy to follow illustrated instructions on how to do french knots.
If you have never done a French knot before then I suggest that you first practise on a spare piece of fabric or Aida until you get them right. By practising first you will be less likely to damage or even ruin your work.
How to tie a French Knot.
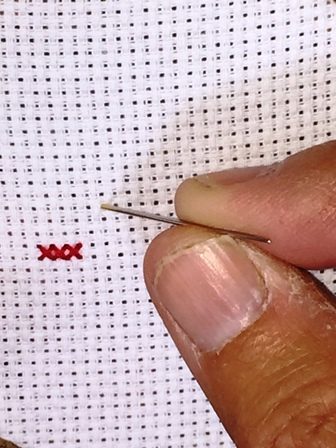
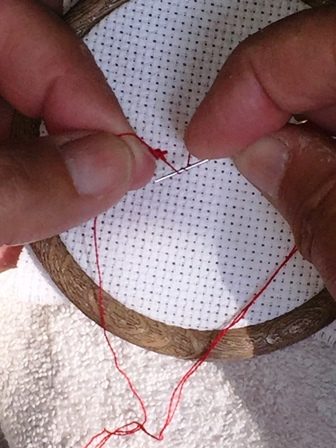
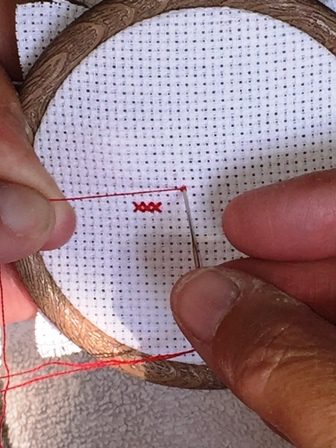
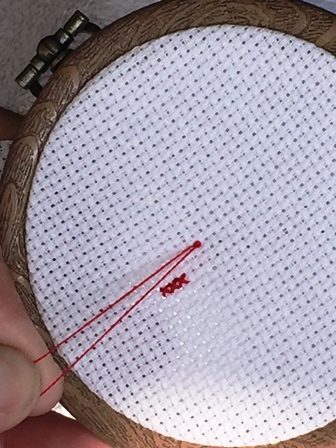
Step 1: Using a single thread come up in the place where you want the French Knot to sit.
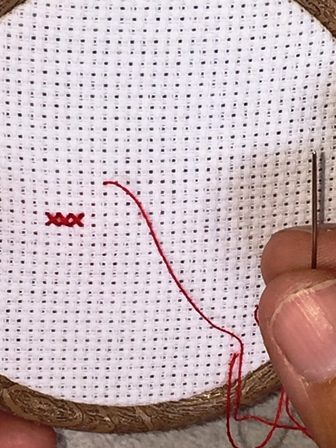

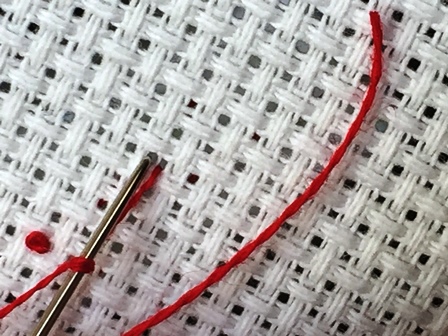
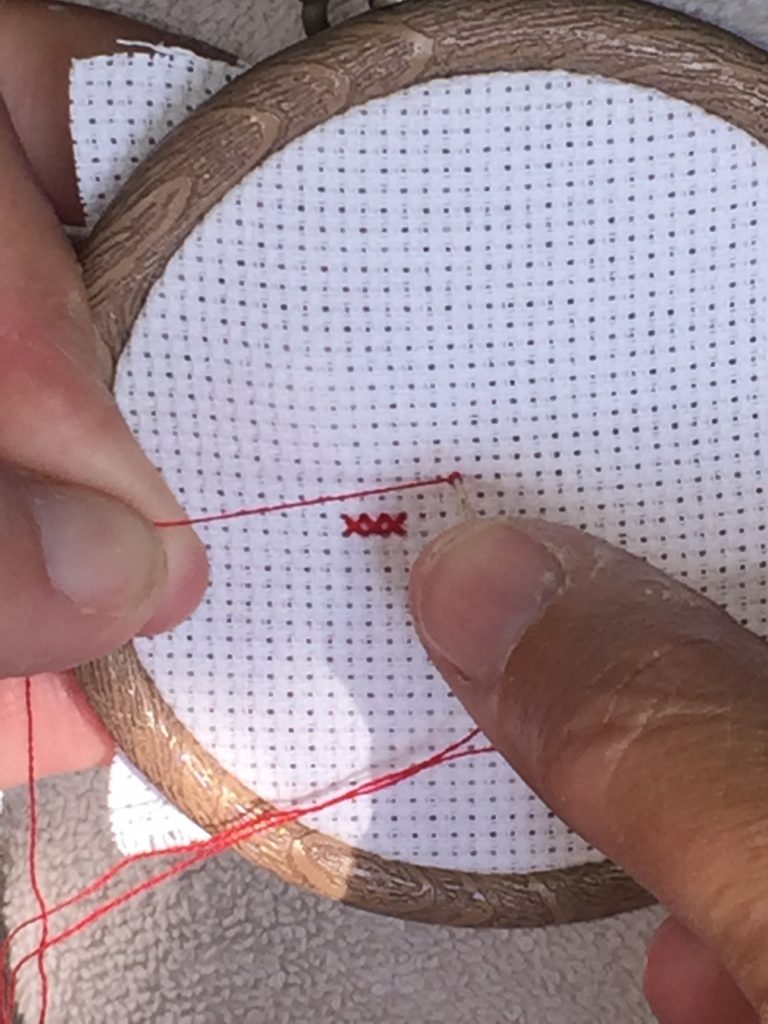
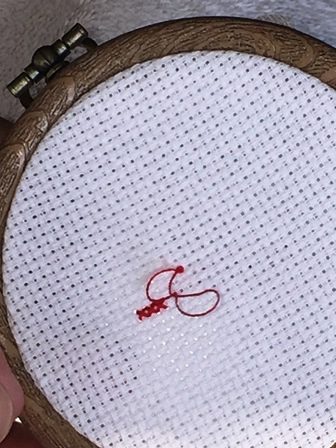
Step 2: While keeping tension on the thread, try to get as close to the hole as possible and wrap the yarn around the needle twice. If you require a bigger knot then wrap the thread a couple more times.
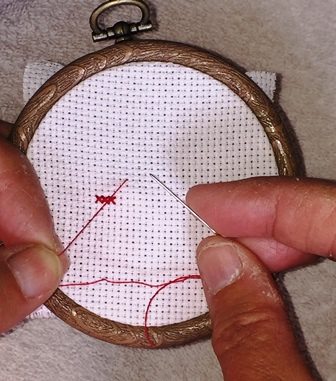
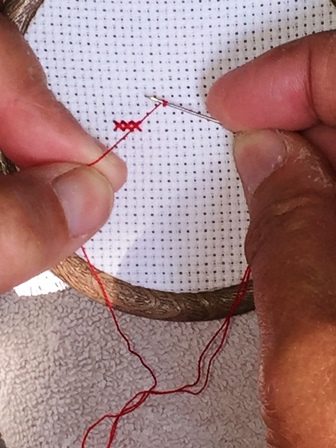
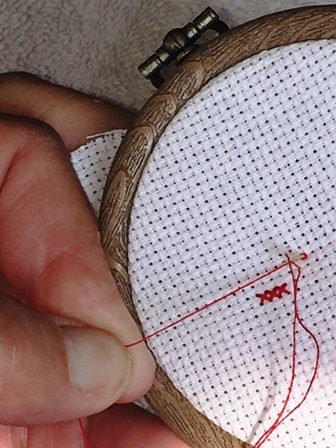
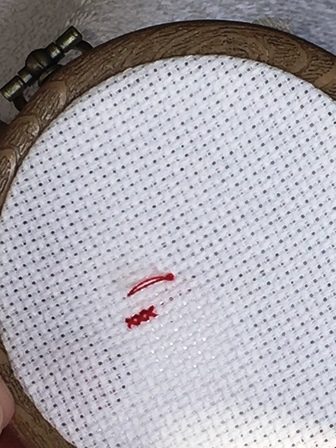
Step 3: While continuing to keep tension on the thread, pull the twists tight against the Aida then push the needle back through the Aida one strand away from the hole you came up in as can be seen below.

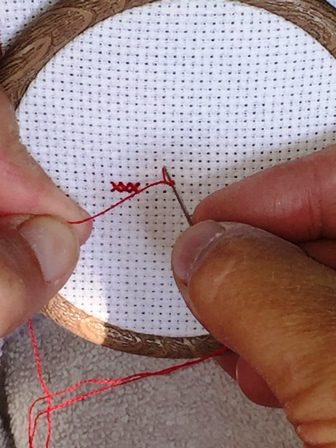
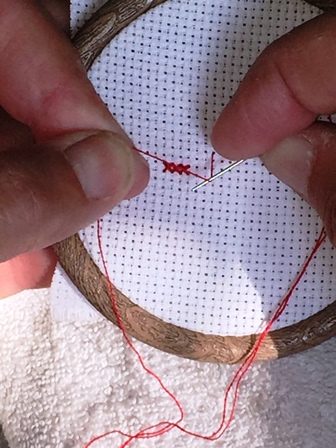
Step 4: Hold the knot against the Aida and pull the thread through the back. Gently ease the remaining thread through until it forms a knot. Do not pull it too tight or it will pull back through the Aida.
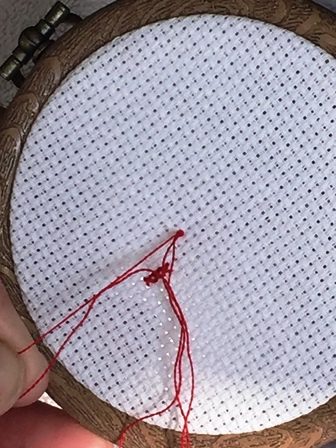
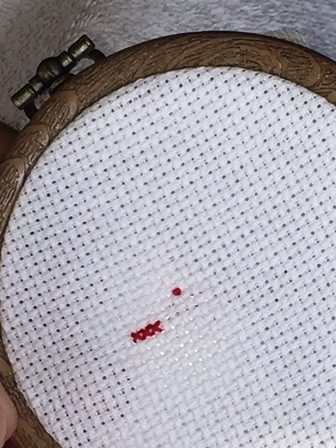
Now you have your first French Knot.
When tying French Knots for the first time they can seem to be a little fiddly. However with practice and perseverance you will be tying them in no time.