Learning how to successfully complete a cross stitch project isn’t really that hard. Having done cross stitch for many years, I have, over time, learned many things which have helped me time and time again.
Whether it is a cross stitch kit or a custom project that you have made using one of the many ‘photo to cross stitch’ programs available online, successfully starting and completing a cross stitch project or cross stitch kit has pretty much the same guidelines.
1: Finding the cross stitch project for you.
The first thing you need to do to successfully complete a cross stitch project is to decide your skill level.
Never choose anything too detailed or elaborate. One of the biggest mistakes people make when deciding to take up cross stitch is choosing a project, or cross stitch kit that is above their skill level. Cross stitch is an intricate process that requires a steady hand, keen eyesight and a lot of time and patience. These are things you will need to persevere with if you are to successfully complete a cross stitch project. So bear in mind the following points:
1. Keep it simple.
2. Keep it small in size, NOT Aida count (the higher the Aida number the smaller the stitches)
3. Keep the number of threads/colours in the kit to a minimum.
4. There’s no point setting yourself up to fail before you even start.
5. We all have to start at the bottom.
Cross stitch kits come in many different designs and Aida counts – the most common being 12, 14, 16, 18. The Aida count means how many stitches there are to the inch. The higher the count affects the size of the stitches per square. A 12 count Counted Cross Stitch kit means that each 1″ x 1″ square will be 12 crosses x 12 crosses. It will have larger stitches and should be easier to sew than an 18 count kit which will be 18 x 18 stitches to the inch.
Kits.
Most cross stitch kits should include:
1. A piece of Aida.
2. A stitching chart.
3. Full instructions.
4. All the yarns needed to complete the project.
5. A needle suitable for the sized holes in the Aida.
If you’re a beginner or medium skill level, I strongly advise at this point you avoid cotton or linen fabrics. You also need to look at the number of yarns required because, normally, the higher the number the greater the detail.
2: Practise your stitching.
Practise before you start your project.


Once you have chosen your project I advise that you read the enclosed instructions very carefully. Before starting your project, if you haven’t cross stitched before, choose a small area to the side of your Aida. Practice a few simple stitches which, if the instructions are well written, you will be shown how to do, step by step, on the instruction leaflet.

3: Setting up your fabric.
Once you are happy with your practise stitches you can start! Some kit instructions will advise you to start from the centre of the project (or near centre).
To find the centre of the Aida fold it in half from top to bottom and then side to side. This should leave a clear centre mark which you will need to loosely mark with a small thread of yarn as shown in the picture, above.
4: Starting your cross stitch.
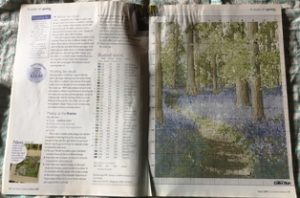
I always make a scanned copy of my pattern before I start – this means I can mark my progress off and not damage the original copy. In the event that I make a mistake, I can then reference the original stitching chart to find out where I went wrong. It is all too easy to lose concentration, mark off stitches that you have not completed or end up a stitch or two out on a run, so counting and checking each row is essential.
Once you are confident that you are ready to start stitching you can either put your cross stitch into a
cross stitch frame or hoop (recommended) or just work on the loose Aida which requires a lot of handling and will cause the unnecessary transfer of dirt and oils from your skin onto the fabric, causing discolouration.
Before threading your needle with your first colour check to see how many strands you require by checking either on the pattern or in the instructions. Usually, you will require two strands but always check.
I tend to try and start in the top left-hand corner as I am right handed and work my way down and across the pattern. This way I have minimal contact with the fabric and the stitching already completed.

Once you have decided where you are going to start, push the threaded needle through the first hole, from the back of the fabric to the front. Leave a tail of thread at the back of the Aida approximately 4cm long. As you begin to stitch you will need to make sure that you stitch over the tail by placing it along the run of stitches, effectively anchoring it to the Aida.
Another method is to leave a tail and then, when you have reached the end of your run and tied it off as shown in 7, go back to where you started (the tail), slide your needle under the first few stitches (the same as you would for tying off) re-thread the tail through the needle using a needle threader and then carefully pull the tail back under the stitches.
5: Common mistake.

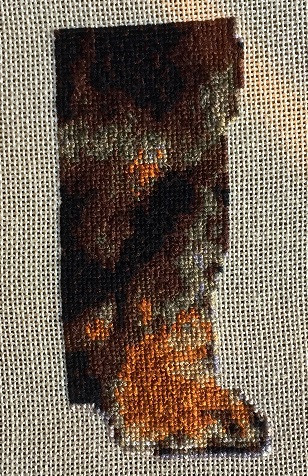
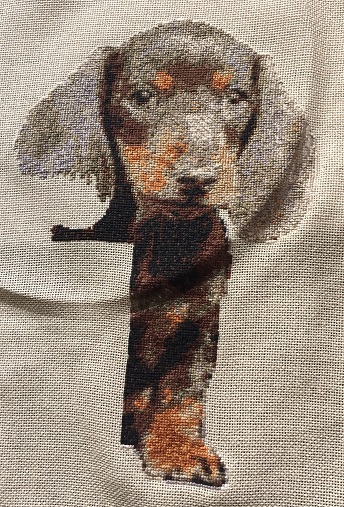
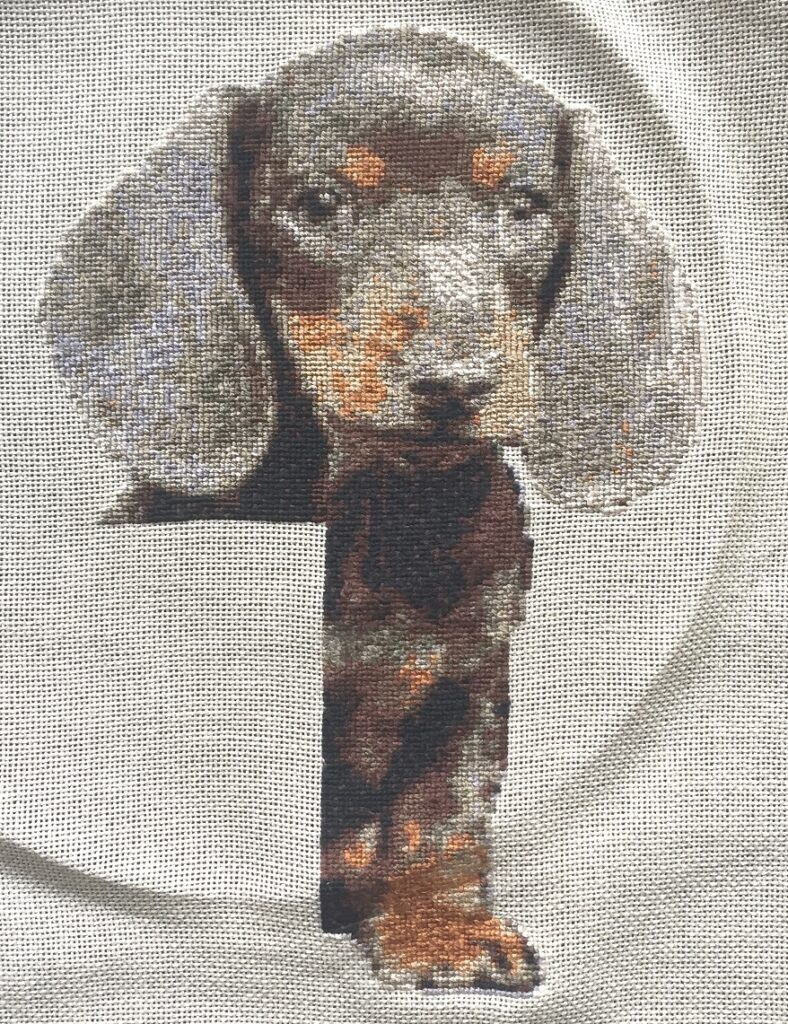
One of the most common mistakes I see, when I am sent a cross stitch project to complete, is when the customer has chosen to do all the big areas of one colour first. I can understand why they choose to do this as it appears to be quicker and also gives them a sense of satisfaction to see that they are making progress. However, for me, this is a major error. This is when you start to go wrong. It is so easy to end up a stitch or two out. The thread is then also jumped across the back of the Aida, from one area to another using the same strands of a thread. This leaves the back of the project messy, with long unanchored pieces of thread. In the long run, this creates major problems when it comes to tying off the stitch runs. It also causes snagging and tangling of the threads when stitching. A tidy version of this can be successful if you use the method called “cross country” but I would not recommend it to a beginner.

This block colour method leaves patches of different colours, depending on the intricacy of the design, to fill in. This can be a long and tedious task – normally there will be more than one needle change required per section. This is time-consuming and is normally when you start to lose interest in the project. If you do find you are a stitch out somewhere it is virtually impossible to correct. The whole design will be a stitch out and your stitch work will not correlate with the pattern. The only solution then is to locate where you first went wrong and unpick the whole project. This is both time-consuming and runs the risk of damaging the Aida. All this can be totally demoralising and of course, an expensive option because you will need to replace all the yarns with new ones and possibly the Aida.
6: Start in one place and follow the pattern.
As I explained in section 4 above, it is always best to start in one place and follow the pattern. Work at a steady rate changing thread colours as required and carefully build up your picture. Never be tempted to do a small patch away from the area you are working on just because you have that colour threaded on your needle. From my experience, you could be setting yourself up for failure before you even get started.
To successfully complete a cross stitch project you will need to work accurately and methodically paying particular attention to the coding on the pattern. Each letter, number or symbol represents a different coloured thread. These will be clearly shown in the thread chart as each colour has its own unique identifying number that can be clearly seen on the small band around the skein or threaded card – if the skeins have been pre-sorted.
7: Concentrate on the cross stitch pattern.
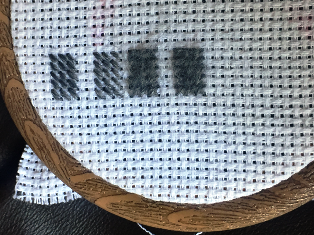
Pay particular attention to the stitches as you may come across half stitches. These are most common around the edges of curved shapes and objects. The symbol for a half stitch usually looks something like the one shown in the example below. The half stitch in the example is represented by an oval symbol, a dividing line and then a solid black square representing each code for the coloured threads required. The direction of the divide dictates the direction of the half stitch.

8: Finishing off each run of stitches.

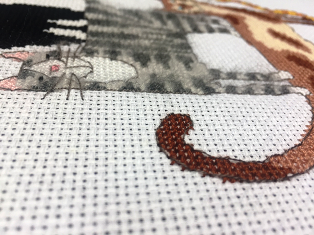
Once you have finished a run of stitches or if you are running out of the thread you will need to neatly tie off the thread. Always do this on the back of your piece. Carefully insert your needle under a run of stitches in order to anchor it in place. Always make sure you leave enough thread to enable you to line the needle up and pull it through the back of the other stitches as shown in the picture.

When pulling the thread through the back of your stitches try not to pull the needle too hard. This will tighten up the last stitch and cause tension on the Aida. If you do this you will open the holes up making them more visible from the front. Should this happen you can carefully ease the thread off and relax the corresponding stitch on the front of your project using another blunt needle which will help close the hole.
Once you are happy that your thread is pulled through correctly carefully snip off any excess thread with a sharp pair of
Sewing scissors.Continue to follow the pattern until you have fully completed all of the stitchwork.
9: Finishing off with the backstitch.

Once you have fully completed your picture you may need to add some back stitch to outline any details.
When doing backstitch always start at an obvious point and try to work your way around the picture. If a run of backstitch ends, finish the thread behind the Aida as explained above, then begin the new run. First threading your needle under the nearest run of stitches using the same method as you would when finishing off. Never be tempted to jump across the back of your work when doing the backstitch. This looks untidy and can result in the back stitch loosening off over time.
In Conclusion.
Using this basic guide and following the advice above should give you a better chance to successfully complete a project. All the methods above have been tried and tested by myself over the years. It’s ironic really that as a cross stitch finishing service I would be giving free advice on how to do it yourself. However, I know the great sense of satisfaction and achievement you get when you sew that last stitch. Then after it has been washed and ironed you can gaze upon a cross stitch masterpiece that you’ve created yourself. You can then frame it and give it pride of place in your home. So I wish you luck and every success in your project. But if you are struggling to complete it please don’t hesitate to
contact me.
Good luck and thank you for reading this.


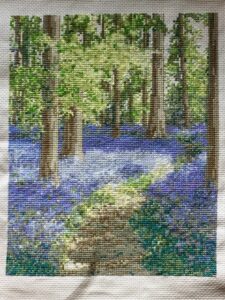 Bluebell Wood.
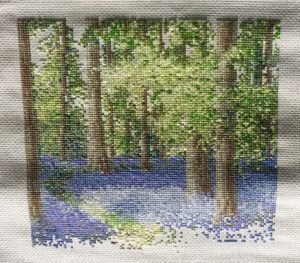
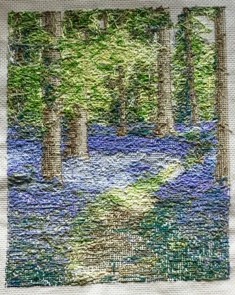
 With a finished size of 25x20cm Bluebell Wood is a lovely piece and would look beautiful framed and hung on any wall.